DaVinci client deep dive for iOS
Configure DaVinci client module for iOS properties to connect to PingOne and step through an associated DaVinci flow.
Installing and importing the DaVinci client
To use the DaVinci client for iOS, use Swift Package Manager (SPM) or Cocoapods to add the dependencies to your project.
Add dependencies using SPM (Swift Package Manager)
You can install this by using SPM (Swift Package Manager) on the generated iOS project.
-
In Xcode,in the Project Navigator, right-click your project, and then click Add Package Dependencies….
-
In the Search or Enter Package URL field, enter the URL of the repo containing the DaVinci Client for iOS,
https://github.com/ForgeRock/ping-ios-sdk.git. -
In Add to Project, select the name of your project, and then click Add Package.
Xcode shows a dialog containing the libraries available in the Ping SDK for iOS.
-
Select the
PingDavincilibrary, and in the Add to Target column select the name of your project. -
Repeat the previous step for any other Ping SDK libraries you want to add to your project.
-
Click Add Package.
Xcode displays the chosen libraries and any prerequisites they might have in the Package Dependencies pane of the Project Navigator:
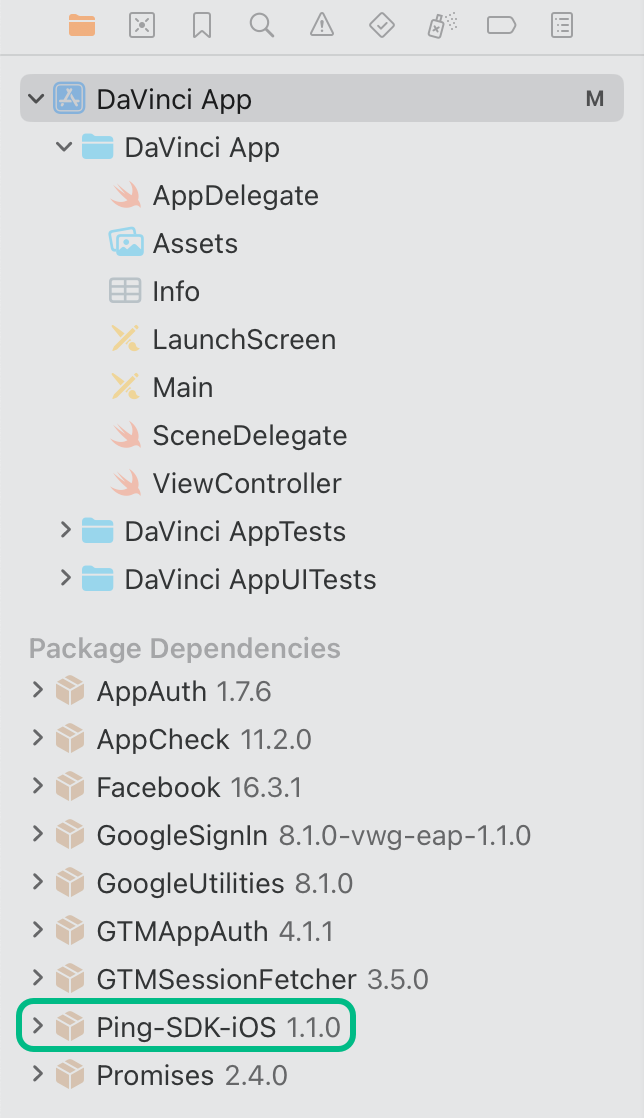 Figure 1. Package dependencies in the Xcode package navigator pane.
Add dependencies using CocoaPods
-
If you do not already have CocoaPods, install the latest version.
-
If you do not already have a Podfile, in a terminal window, run the following command to create a new Podfile:
pod init
-
Add the following lines to your Podfile:
pod 'PingDavinci'
-
Run the following command to install pods:
pod install
Configuring the DaVinci client
Configure DaVinci client for iOS properties to connect to PingOne and step through an associated DaVinci flow.
The following shows an example DaVinci client configuration, using the underlying Oidc module:
let daVinci = DaVinci.createDaVinci { config in
    // Oidc as module
    config.module(OidcModule.config) { oidcValue in
        oidcValue.clientId = "6c7eb89a-66e9-ab12-cd34-eeaf795650b2"
        oidcValue.discoveryEndpoint = "https://auth.pingone.com/3072206d-c6ce-ch15-m0nd-f87e972c7cc3/as/.well-known/openid-configuration"
        oidcValue.scopes = ["openid", "profile", "email", "address", "revoke"]
        oidcValue.redirectUri = "org.forgerock.demo://oauth2redirect"
        oidcValue.additionalParameters = ["customKey":"customValue"]
    }
}
For information on the properties available, refer to Configure DaVinci client for iOS properties.
Stepping through DaVinci flows
To authenticate your users the DaVinci client for iOS must start the flow, and step through each node.
|
For information on which connectors and fields the DaVinci client supports, refer to Compatibility. |
Starting a DaVinci flow
To start a DaVinci flow, call the start() method:
var node = await daVinci.start()Determining DaVinci flow node type
Each step of the flow returns one of four node types:
ContinueNode-
This type indicates there is input required from the client. The
nodeobject for this type contains acollectorobject, which describes the information it requires from the client.Learn more in Handling DaVinci flow collectors in continue nodes.
SuccessNode-
This type indicates the flow is complete, and authentication was successful.
Learn more in Handling DaVinci flow success nodes.
ErrorNode-
This type indicates an error in the data sent to the server. For example, an email address in an incorrect format, or a password that does not meet complexity requirements.
You can correct the error and resubmit to continue the flow.
Learn more in Handling DaVinci flow error nodes.
FailureNode-
This type indicates that the flow could not be completed and must be restarted. This can be caused by a server error, or a timeout.
Learn more in Handling DaVinci flow failure nodes.
You can use the helper functions to determine which node type the server has returned:
node type.switch (node) {
case is ContinueNode: do {}
case is ErrorNode: do {}
case is FailureNode: do {}
case is SuccessNode: do {}
}Handling DaVinci flow collectors in continue nodes
The ContinueNode type contains collectors. These collectors define what information or action to request from the user, or client device.
|
For a list of supported collectors, refer to Supported PingOne fields and collectors. |
There are specific collector types. For example there are TextCollector and PasswordCollector types.
To complete a DaVinci flow we recommend that you implement a component for each connector type you will encounter in the flow. Then you can iterate through the flow and handle each collector as you encounter it.
ContinueNodenode.collectors.forEach { item in
switch(item) {
case is TextCollector:
(item as! TextCollector).value = "My First Name"
case is PasswordCollector:
(item as! PasswordCollector).value = "My Password"
case is SubmitCollector:
(item as! SubmitCollector).value = "click me"
case is FlowCollector:
(item as! FlowCollector).value = "Forgot Password"
}
}Continuing a DaVinci flow
After collecting the data for a node you can proceed to the next node in the flow by calling the next() method on your current node object.
next()let next = node.next()|
You do not need to pass any parameters into the |
The server responds with a new node object, just like when starting a flow initially.
Loop again through conditional checks on the new node’s type to render the appropriate UI or take the appropriate action.
Handling DaVinci flow error nodes
DaVinci flows return the ErrorNode type when it receives data that is incorrect, but you can fix the data and resubmit. For example, an email value submitted in an invalid format or a new password that is too short.
You can retrieve the error message by using node.message(), and the raw JSON response with node.input.
let node = await daVinci.start() //Start the flow

//Determine the Node Type
switch (node) {
  case is ContinueNode: do {}
  case is FailureNode: do {}
  case is ErrorNode:
      (node as! ErrorNode).message //Retrieve the error message
  case is SuccessNode: do {}
}|
This is different than a |
You can retain a reference to the node you submit in case the next node you receive is an ErrorNode type. If so, you can re-render the previous form, and inject the error information from the new ErrorNode node.
After the user revises the data call next() as you did before.
Handling DaVinci flow failure nodes
DaVinci flows return the FailureNode type if there has been an issue that prevents the flow from continuing. For example, the flow times out or suffers a server error.
You can retrieve the cause of the failure by using node.cause(), which is an Error instance.
FailureNode typelet node = await daVinci.start() //Start the flow
//Determine the Node Type
switch (node) {
case is ContinueNode: do {}
case is FailureNode:
(node as! FailureNode).cause //Retrieve the cause of the Failure
case is ErrorNode: do {}
case is SuccessNode: do {}
}You should offer to restart the flow on receipt of a FailureNode type.
Handling DaVinci flow success nodes
DaVinci flows return the SuccessNode type when the user completes the flow and PingOne issues them a session.
To retrieve the existing session, you can use the following code:
SuccessNode typelet user: User? = await daVinci.user()
_ = await user?.token()
await user?.revoke()
_ = await user?.userinfo(cache: false)
await user?.logout()Leverage SwiftUI
The following shows how you could use the DaVinci client with SwiftUI:
//Define State that listen by the View

@Published var state: Node = EmptyNode()

//Start the DaVinci flow
let next = await daVinci.start()

//Update the state
state = next

func next(node: ContinueNode) {
   val next = await node.next()
   state = next

}if let node = state.node {
switch node {
case is ContinueNode:
// Handle ContinueNode case
break
case is ErrorNode:
// Handle Error case
break
case is FailureNode:
// Handle Failure case
break
case is SuccessNode:
// Handle Success case
break
default:
break
}
}