Duo Connector
The Duo connector lets you use Duo for multi-factor authentication (MFA) in your PingOne DaVinci flow.
Setup
Resources
For information and setup help, see the following documentation:
-
Duo documentation
-
DaVinci documentation:
Requirements
To use the connector, you’ll need:
-
A configured Duo environment
-
A Duo user account to use for testing
Getting your application credentials
-
In Duo, add an application. For help, see Protecting an application in the Duo documentation.
-
Select PingFederate as the application type.
-
Note your Client ID, Client secret , and API hostname. You’ll use these in the connector configuration.
-
Click Save.
Setting up the Duo connector configuration
In DaVinci, add a Duo connection. For help, see Adding a connector.
Using the connector in a flow
Authenticating users with Duo multi-factor authentication
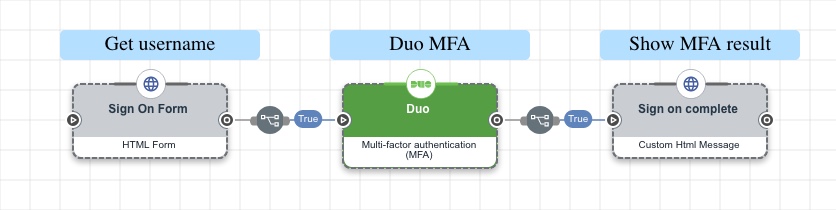
Complete the steps below to create a flow that asks the user to enter their username in an HTML form, uses the connector to redirect them to Duo, then shows the results on an HTML page.
|
Duo’s Universal Prompt experience doesn’t provide a "Cancel" option that would let the user exit MFA and return to the DaVinci flow. Because of this, it’s possible for Duo to become a dead end in the user experience if they can’t successfully complete MFA. |
-
Create a sign on form:
-
In a new flow, add the HTTP connector and select the HTML Form capability. Select the node that appears in your flow.
In this example flow, we’ll collect the username in a form. When you build your own flow, this is where you should add your first-factor authentication step.
For help, see the HTTP connector.
-
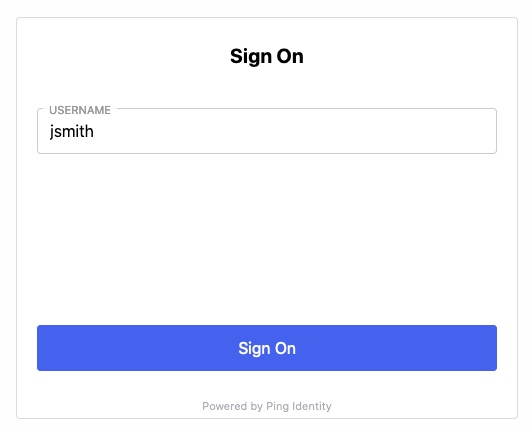
In the Title field, enter a title, such as
Sign On. -
In the Fields List section, click Add.
-
In the Property Name field, enter
username. -
In the Display Name field, enter
Username -
In the Next Button Text field, enter
Sign On. -
Click Apply.
-
-
Redirect the user to Duo for MFA:
-
Following your HTML Form node in your flow, add the Duo connector and select the Multi-factor authentication (MFA) capability. Select the node that appears in your flow.
-
In the User ID field, click {} and select the username variable from your HTML Form node.
-
(Optional) If you want the flow to show a Duo sign-on button rather than automatically redirecting the user to Duo, do the following:
This lets you include a Duo sign-on button alongside other sign-on options in an IDP Container connector or as part of a custom HTML page using an HTTP connector.
-
Turn off Skip Button Press.
-
In the Display Name field, enter the button text, such as
Sign on with Duo. -
(Optional) In the CSS field, add CSS to customize the appearance of the prompt.
-
(Optional) Turn on Show Powered By to display Powered by Ping Identity at the bottom of the prompt page.
-
-
Click Apply.
-
-
Show the response from Duo:
-
Following your Multi-factor authentication (MFA) node, add an HTTP connector and select the Custom HTML Message capability. Select the node that appears in your flow.
In this example flow, we’ll show the user the response from Duo. When you build your own flow, this is where you should redirect the user to the resource they originally wanted to access.
-
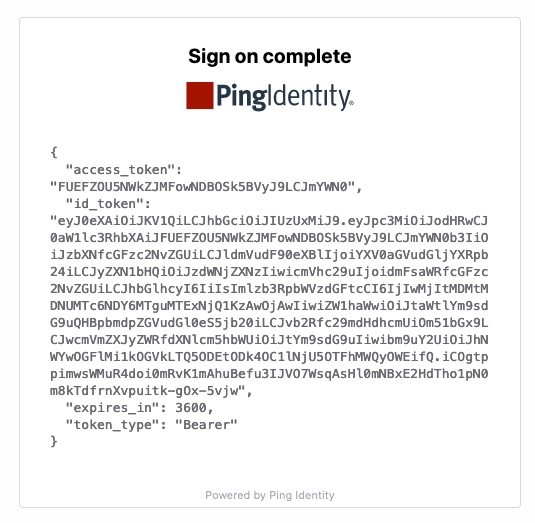
In the Title field, enter
Sign on complete. -
In the Message field, click {} and select the rawResponse variable from your Multi-factor authentication (MFA) node.
-
Click Apply.
-
-
Test the flow.
-
Click Save, Deploy, then Run.
-
On the Sign On page, enter the username for your Duo test user account. Click Sign On.
Result: The browser redirects to the Duo MFA experience, such as Universal Prompt.

-
Complete the MFA process with Duo.
Duo shows a success message, then redirects the browser back to DaVinci.

Your Custom HTML Message shows the complete response from Duo.
-
For help, see the Creating an authentication flow guide.
Capabilities
Multi-factor authentication (MFA)
Redirect to Duo for multi-factor authentication.
Show details
-
Properties
-
Input Schema
-
Output Schema
- Username textField required
- Display Name button
- showPoweredBy toggleSwitch
- skipButtonPress toggleSwitch
-
default object
-
properties object
-
username string required
Username
-
clientSecret string required
-
clientId string required
-
apiHostname string required
API Hostname
-
-
-
output object
-
rawResponse object
-
access_token string
-
id_token string
-
expires_in integer
-
token_type string
-
-
statusCode integer
-
headers object
-
server string
-
date string
-
content-type string
-
content-length string
-
connection string
-
cache-control string
-
pragma string
-
strict-transport-security string
-
content-security-policy string
-
-
tokens object
-
access_token string
-
id_token string
-
expires_in integer
-
token_type string
-
-
iss string
-
sub string
-
aud string
-
exp integer
-
iat integer
-
auth_time integer
-
auth_result object
-
result string
-
status string
-
status_msg string
-
-
auth_context object
-
txid string
-
timestamp integer
-
user object
-
name string
-
key string
-
groups array
-
-
application object
-
name string
-
key string
-
-
auth_device object
-
ip string
-
location object
-
city string
-
state string
-
country string
-
-
name string
-
-
access_device object
-
ip string
-
location object
-
city string
-
state string
-
country string
-
-
hostname null
-
epkey string
-
-
factor string
-
event_type string
-
result string
-
reason string
-
alias string
-
isotimestamp string
-
email string
-
ood_software null
-
-
preferred_username string
-
nonce string
-