Configure cross-origin resource sharing
Cross-origin resource sharing (CORS) lets user agents make cross-domain server requests. In PingOne Advanced Identity Cloud, you can configure CORS to allow browsers from trusted domains to access Advanced Identity Cloud protected resources. For example, you might want a custom web application running on your own domain to get an end-user’s profile information using the Advanced Identity Cloud REST API.
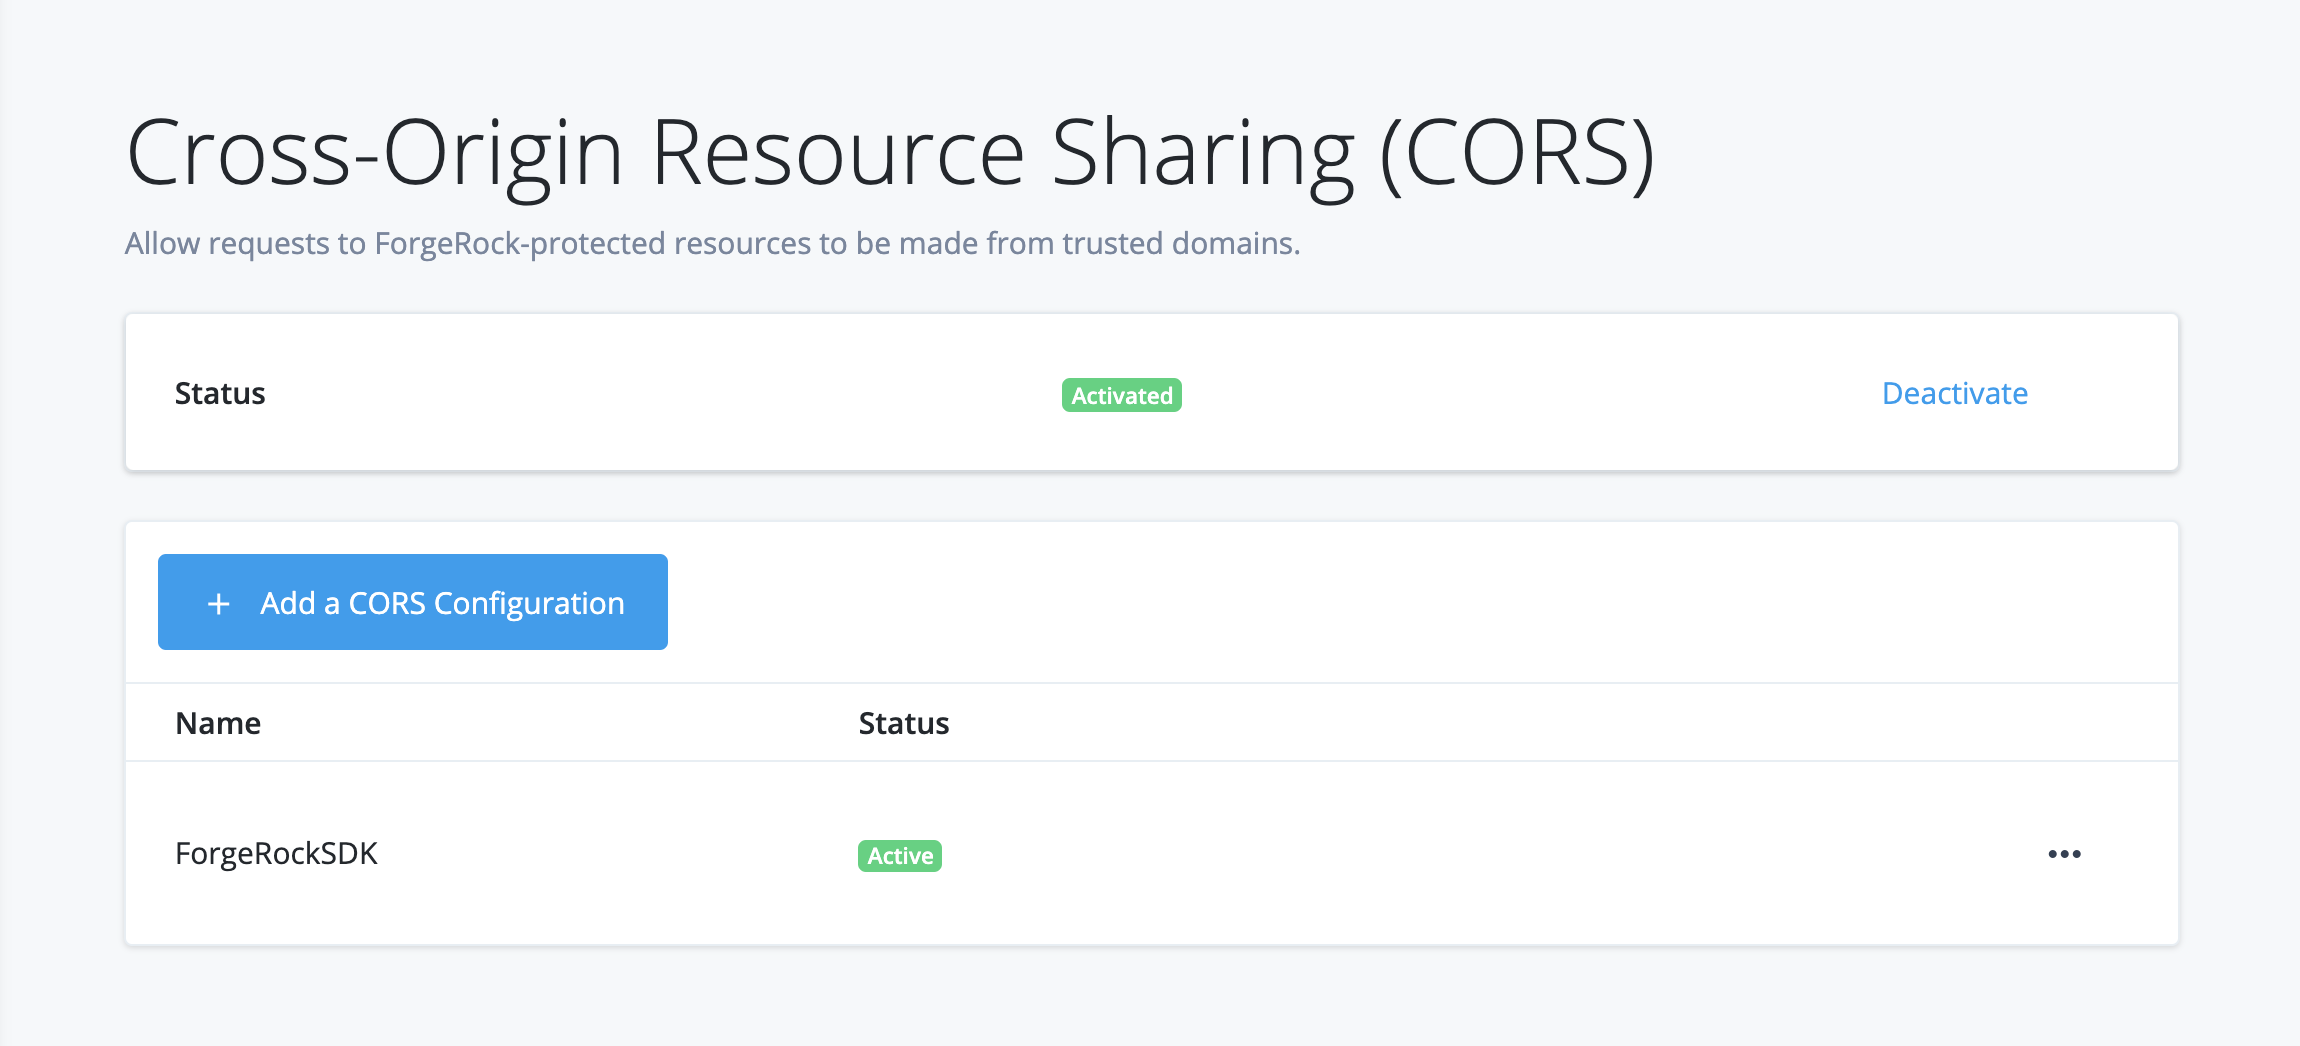
By default, CORS is configured to let the Ping SDKs access Advanced Identity Cloud. You can add additional CORS configurations that let other APIs or SDKs access Advanced Identity Cloud.

Configure CORS using ESVs
-
In your development environment:
-
Use the Advanced Identity Cloud admin console to set up one or more CORS configurations for your environment:
You can create as many configurations as you need. The active configurations are combined to form the entire set of rules for resource sharing in your environment.
-
For each CORS configuration:
-
If the
acceptedOriginsfield contains hard-coded configuration, use the Advanced Identity Cloud REST API to replace the value of theacceptedOriginsfield with an ESV array. Learn more in Insert ESV placeholders into CORS configuration. -
If the
acceptedOriginsfield already contains an ESV array, no action is needed.
-
-
Check that the CORS configuration is working as expected in your development environment.
-
-
In your staging environment:
-
If you created any new ESV arrays in step 1b, create corresponding ESVs with the same names in your staging environment.
-
Run a promotion to move the configuration change from your development environment to your staging environment. Refer to:
-
Check that the CORS configuration is working as expected in your staging environment.
-
-
In your production environment:
-
If you created any new ESV arrays in step 1b, create corresponding ESVs with the same names in your production environment.
-
Run a promotion to move the configuration change from your staging environment to your production environment.
-
Check that the CORS configuration is working as expected in your production environment.
-
Create a new CORS configuration
-
In your development environment, open the TENANT menu (upper right), and choose Tenant settings.
-
On the Tenant Settings page, click Global Settings > Cross-Origin Resource Sharing (CORS).
-
Click + New CORS Configuration.
-
On the New CORS Configuration dialog box, choose a configuration type.
Ping SDKs
Choose this option when you want to work with the Ping SDKs.
Advanced Identity Cloud pre-configures accepted origins, methods, and headers for you. You can modify the configuration in the next step.Custom
Choose this option when you want to use your own SDK, APIs, or other software components.
-
Click Next.
-
In the New CORS Configuration dialog box, provide CORS details.
Name
Enter a display name. Use only numerals, letters, and hyphens (-).
Accepted Origins
Required. Accepted origins that will be allowed to make requests to Advanced Identity Cloud from your application in a cross-origin context. Wildcards are not supported. Each value should be identical to the origin of the CORS request.
Example:https://myapp.example.com:443Accepted Methods
Defaults are
POSTandGET. The set of (non-simple) accepted HTTP methods allowed when making CORS requests to Advanced Identity Cloud. Use only uppercase characters.Accepted Headers (optional)
Accepted header names when making requests from the above specified trusted domains.
Header names are case-insensitive. By default, the following simple headers are explicitly accepted:Cache-Control,Content-Language,ExpiresLast-Modified,Pragma.
If you don’t specify values for this element, then the presence of any header in the CORS request, other than the simple headers listed above, will cause the request to be rejected. -
(Optional) Click Show advanced settings to display further CORS configuration settings:
Exposed Headers (optional)
Add the response header names that Advanced Identity Cloud returns.
The header names are case-insensitive. User agents can make use of any headers that are listed in this property, as well as these simple response headers:Cache-Control,Content-Language,Expires,Last-Modified,Pragma, andContent-Type. User agents must filter out all other response headers.Enable Caching
Max age is the maximum length of time, in seconds, that the browser is allowed to cache the pre-flight response. The value is included in pre-flight responses, in the Access-Control-Max-Age header.
Allow Credentials
Enable this property if you send Authorization headers as part of the CORS requests, or need to include information in cookies when making requests.
When enabled, AM sets the Access-Control-Allow-Credentials: true header.
-
Click Save CORS Configuration.
Activate or deactivate a CORS configuration
-
To activate or deactivate all CORS configurations:
-
In your development environment, open the TENANT menu (upper right), and choose Tenant settings.
-
On the Tenant Settings page, click Global Settings > Cross-Origin Resource Sharing (CORS).
-
On the CORS Configurations page, in the upper right side, click Activate or Deactivate.
-
-
To deactivate an individual CORS configuration:
-
In your development environment, open the TENANT menu (upper right), and choose Tenant settings.
-
On the Tenant Settings page, click Global Settings > Cross-Origin Resource Sharing (CORS).
-
On the CORS Configurations page, find the name of the configuration you want to deactivate.
-
Click its More () menu, and choose Deactivate.
-
Edit a CORS configuration
-
In your development environment, open the TENANT menu (upper right), and choose Tenant settings.
-
On the Tenant Settings page, click Global Settings > Cross-Origin Resource Sharing (CORS).
-
On the CORS Configurations page, find the name of the configuration you want to edit.
-
Click its More () menu, and choose Edit.