Creating a credential
Define the information that you want to collect from your customer and customize the look and feel of your credential.
About this task
-
Customize a credential: Add a background, icon, and customize fonts and colors to create a credential with the branding that your customers know and trust.
-
Customize data collection: Add directory attributes, date of issuance, or create alphanumeric text fields to capture more specific customer data. Specify which details appear on the credential and which details are collected as metadata only.
-
Preview your credential in real time: When you edit the credential attributes, the card preview area shows your changes as you make them.
Before you begin
-
Add PingOne Credentials to your environment.
-
(Optional) Add PingID to your environment to add PingID as a digital wallet.
You can add PingOne Credentials or PingID with a Workforce solution or build your own solution. Learn more in Adding a new environment and Building solutions.
Steps
-
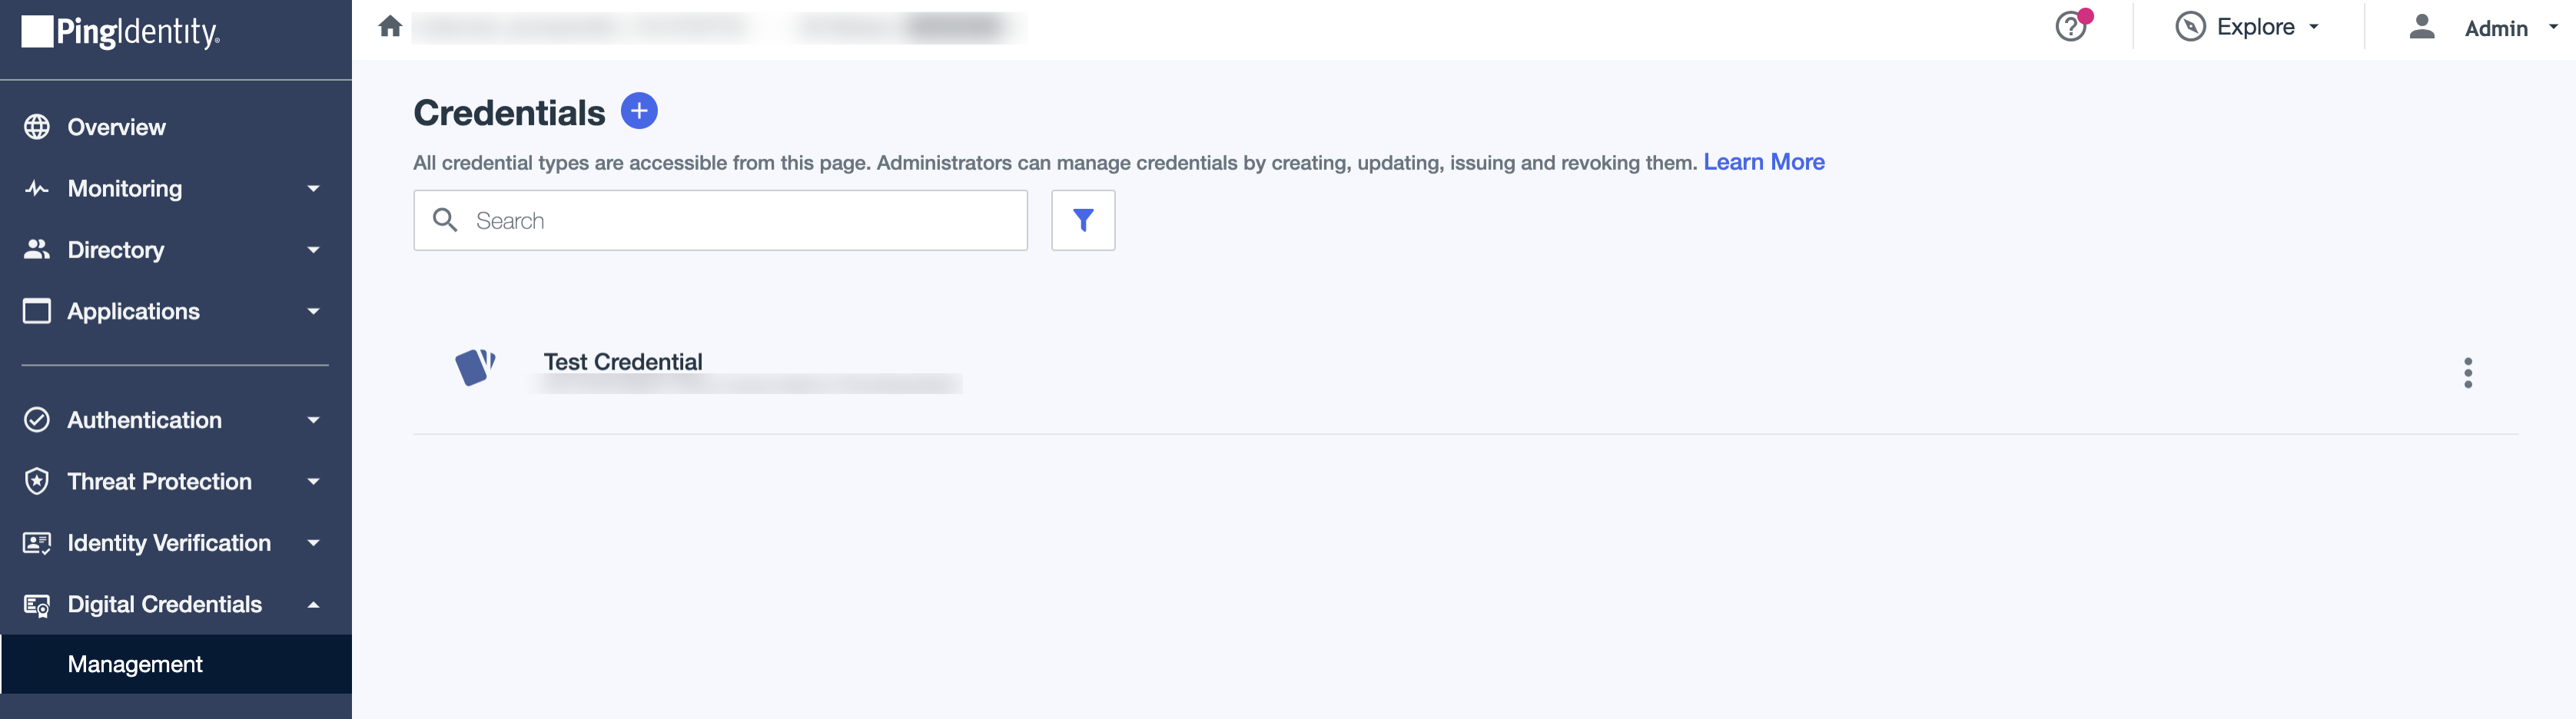
In the PingOne admin console, go to Digital Credentials > Management.
Result:
The Credentials page opens, showing a list of any existing credentials.
-
Click the icon.
Result:
The New Credential window opens.
-
Enter the following:
As you edit attributes, the card preview updates in real time.
Credential Detail Description Name and Subtitle
Enter a Name and Subtitle that displays on the credential.
Theme
Configure the appearance of your credential.
-
To add a logo, click the image under Logo and select the image file you want to use.
-
To change or remove the existing Logo, hover over the logo image, click the Camera icon, and then click Upload New Image or Remove Image.
Logo images must be smaller than 25 KB.
Card Styling
Select the Card Color and Font Color of your credential using the color picker or by entering an RGB value.
Card Background
-
To add a background image, click the Image icon and select the image file you want to use.
-
To remove an existing image, hover over the image, click the Camera icon, and then click Upload New Image or Remove Image.
-
Move the Transparency slider to the left to increase the transparency of the background and increase the visibility of the credential text.
Background images must be smaller than 50 KB.
Card Fields
Create fields from directory attributes.
-
In the Number of Columns list, select the number of columns that you want to add to your credential.
-
In the Field Type list, select an attribute that corresponds to a user directory attribute or select Alphanumeric Text to specify a static value in the credential.
-
For Field Title, enter a title to display on your credential.
-
If Alphanumeric Text is selected for Field Type, enter a Title and Value. The value is a static value you provide and doesn’t reference a directory attribute.
Example:
For Title, you can enter
Department, and for Value, you can enterHuman Resources.
-
-
To add a new field, click New Field.
-
To change whether a field is shown on the card, click the Show label on card (
 ) icon.
 -
To make the field required, select the checkbox.
-
To remove a field, click the Delete icon.
-
To change the order in which the card fields are displayed, click and drag a field to the desired location.
-
-
Click Next.
-
On the Rules page, configure your issuance rules that state how often you want to Issue, Update, and Revoke credentials:
-
Click On Demand to apply staged changes manually through the API.
-
Click Periodic to apply staged changes every minute.
-
-
Click Next.
-
To issue your credential, on the Issuance page:
Choose from:
-
Select Groups to choose a group that you want to issue credentials to.
-
Select Populations to choose a population that you want to issue credentials to.
If you select multiple groups or populations, a user has to be a member of at least one of those selected to be issued a credential.
-
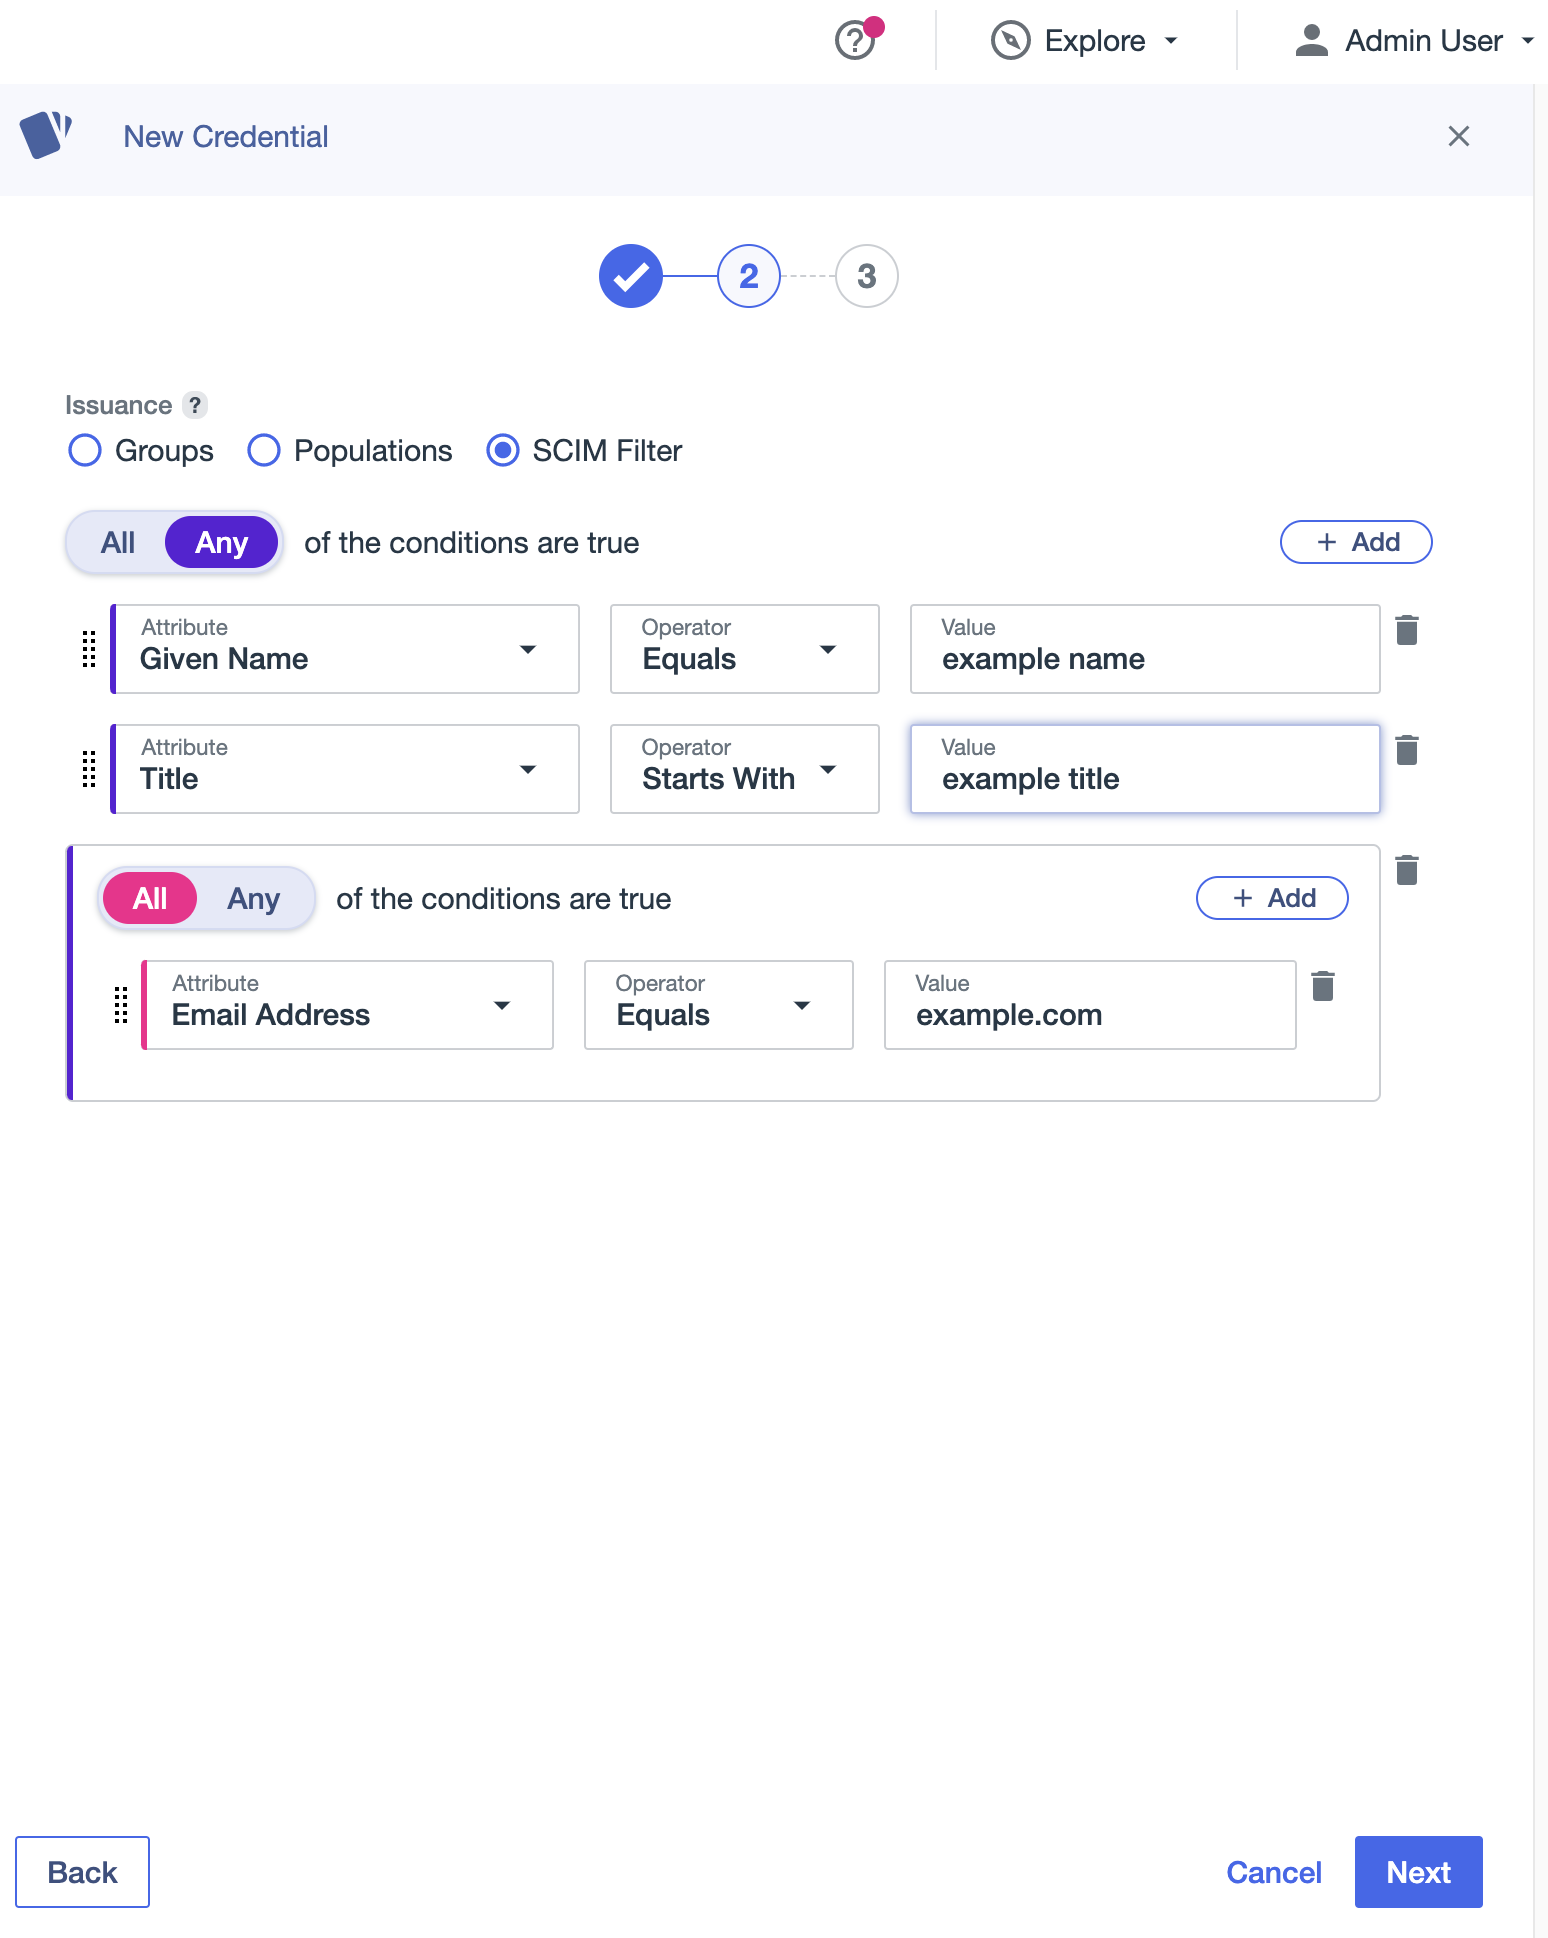
Select SCIM Filter to create a filter that identifies a certain category of users to issue credentials automatically based on attributes from the PingOne Directory.
-
Enter the first condition:
-
Attribute: Select an attribute.
-
Operator: Select Equals, Starts with, Ends With, or Contains.
-
Value: Enter the appropriate value.
-
-
(Optional) Click Add, and then click Condition to add another condition or Condition Set to add a set of conditions.
-
Select All or Any to determine how the linked conditions will be evaluated.
To delete a condition, click the Delete icon.
-
-
-
Click Next.
-
On the Digital Wallet page, click an application from the list or search for the application you want to use as a digital wallet.
You can only select one application.
-
(Optional) To add a PingID digital wallet, select the PingID mobile application in the list or search for the application and then click to select it.
-
Click No selection to choose a digital wallet later.

-
-
Click Save.
-
To enable the credential, click the toggle on the Credentials page.
You can find more information about viewing a user’s assigned credential in the Users page in Managing a user’s credentials.