Creating a web application
Now that we’ve added our environment, and created new users and a group, we’ll create a web application that uses a SAML connection.
Steps
-
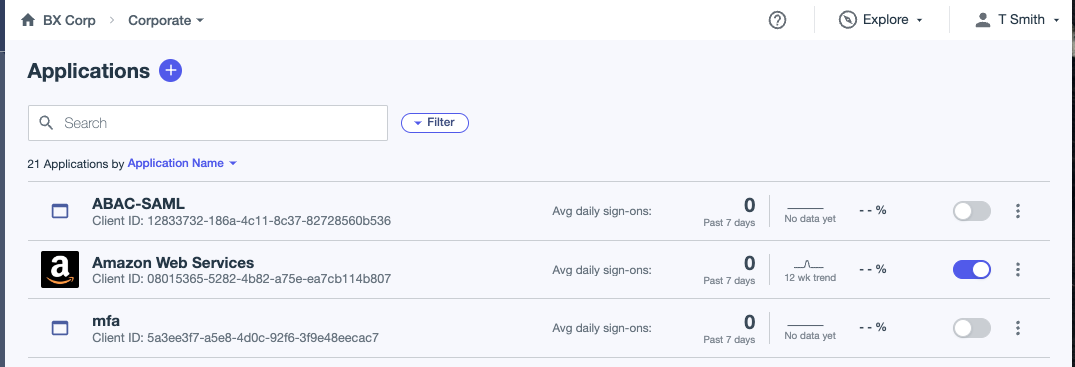
In the PingOne admin console, go to Applications > Applications.
-
Click the icon.
-
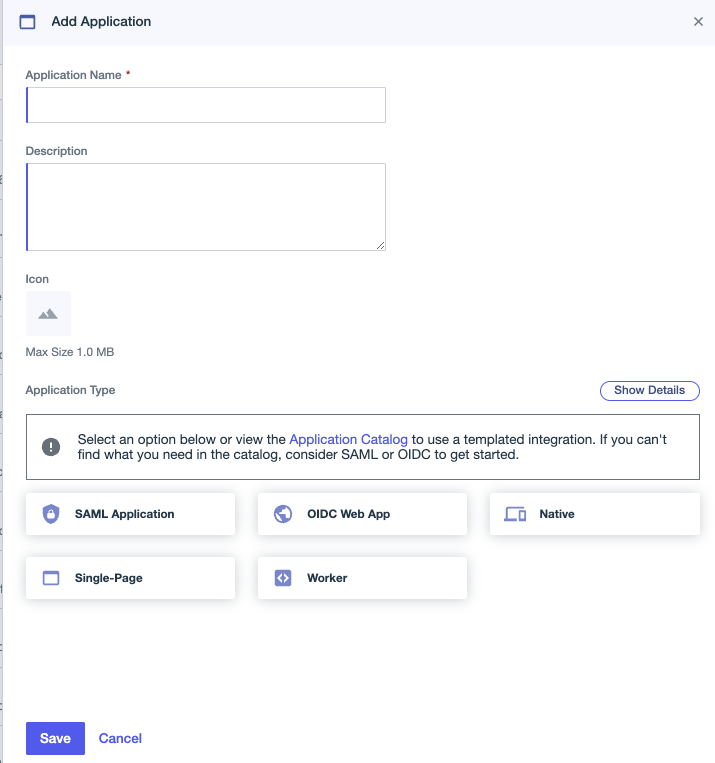
In the Add Application panel, enter an Application Name.
You can also enter a Description (optional).
Add an icon for your application so that it’s easy to identify in the External Applications portal.
-
Click SAML Application and then click Configure.
-
For SAML Configuration, select Manually Enter.
-
Enter the following:
-
ACS URLs:
https://decoder.pingidentity.cloud/saml -
Entity ID:
pingidsamldecoder
-
-
Click Save.
-
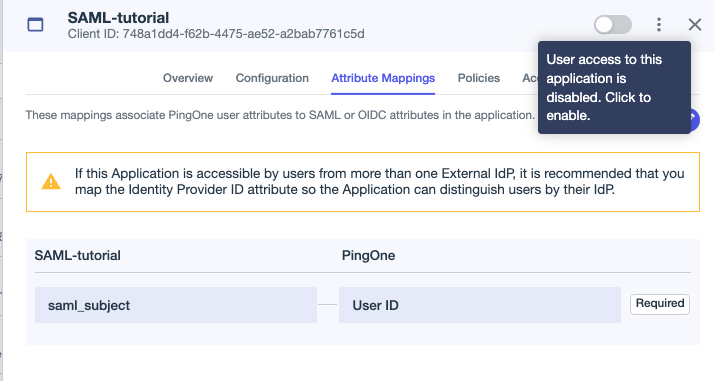
At the top of the panel, click the toggle to enable the application.
Limiting access to the application
We’ll now limit access to the application to the Sales group.
Steps
-
Go to Applications > Applications. Locate your application and click the application entry to open the details panel.
-
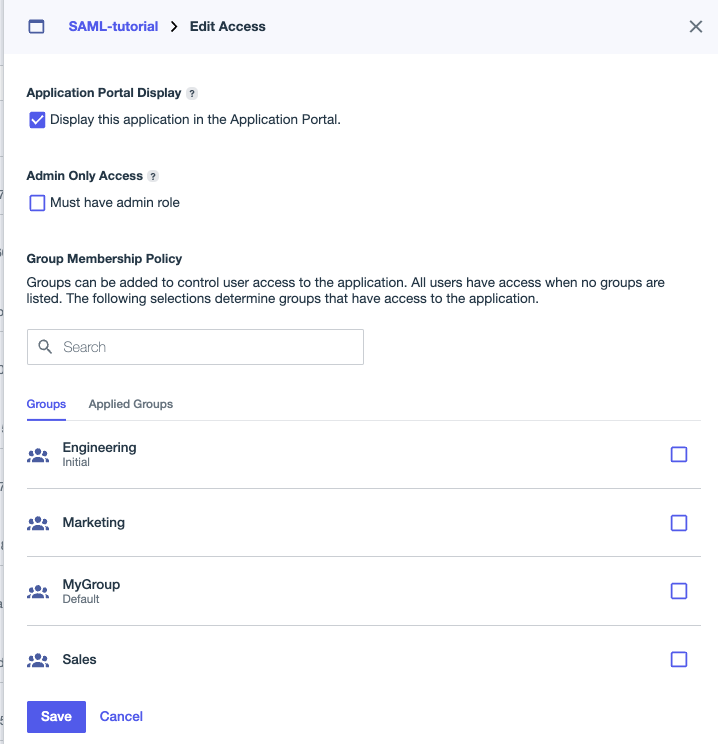
Click the Access tab and then click the pencil icon.
-
Under Groups, select the check box for the Sales group.
-
Click Save.
Assigning the Multi_Factor authentication policy to the application
We’ll now assign the Multi-factor authentication policy to your web application. The application should still be open for edit.
Steps
-
Go to Applications > Applications. Locate your application and click the application entry to open the details panel.
-
Click the Policies tab and then click the pencil icon.
-
Under PingOne Policies, select the check box for the Multi_Factor policy.

-
Click Save.
Optional: Configuring PingID policy
You can configure the default PingID policy to add additional authentication methods and other policy criteria. Learn more in Configuring strong authentication methods (MFA).
Steps
-
In the PingOne admin console, go to Authentication > Authentication.
-
Expand the Multi_Factor policy and click the Pencil icon () to edit it.
-
In the PingID Authentication step, click the link to Configure now.
-
Configure the PingID policy and then click Save.
Next steps
Continue this demo by Performing the user simulation.